Visit Hostinger's Website
Begin by visiting Hostinger's website to kick-start your website journey.

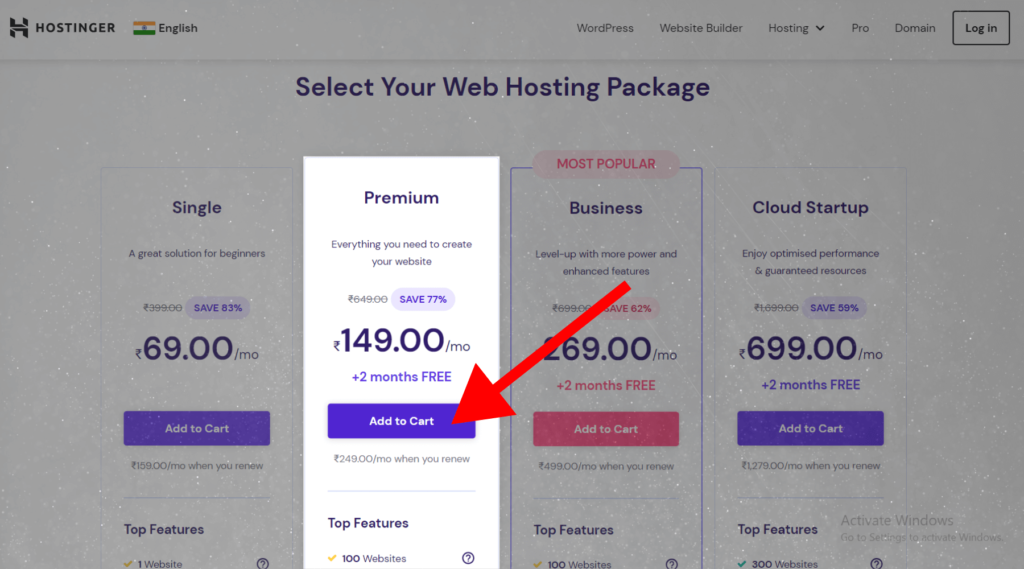
Choose a Hosting Plan
1. Click on "Web Hosting" in the top menu.

2. Select a hosting plan that suits your needs (Single, Premium, Business, or Cloud Startup). Click "Add to Cart."
Configure Your Plan and Create Your Account
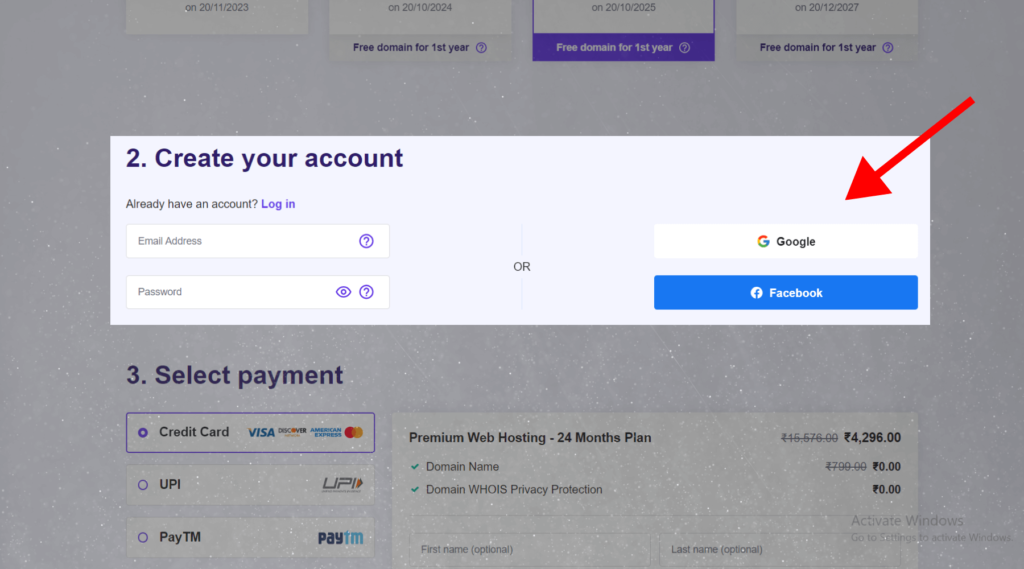
1. Choose your billing cycle (Monthly, 12 months, 24 months, or 48 months).

2. Create or Login your Account.
Complete Your Purchase
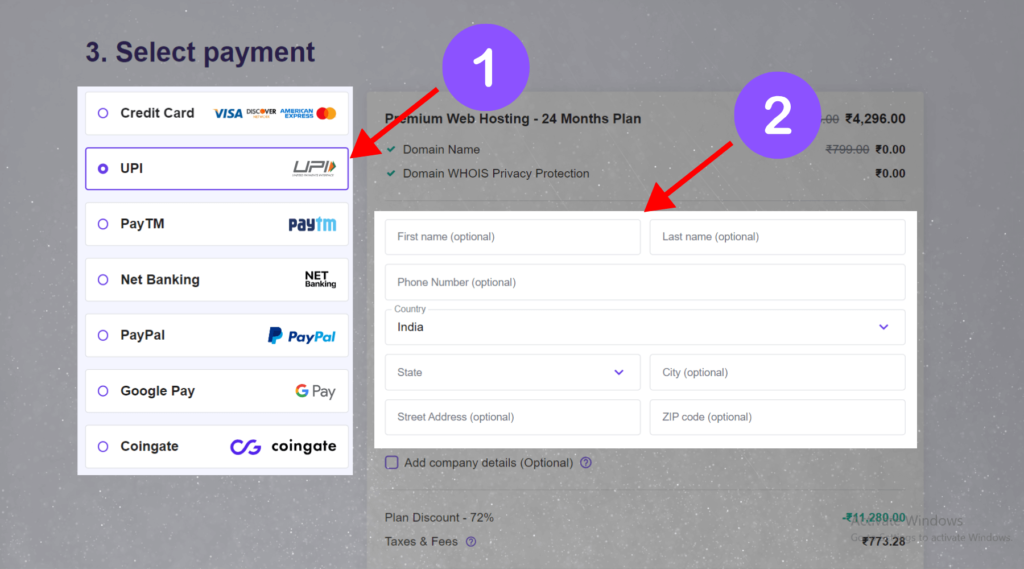
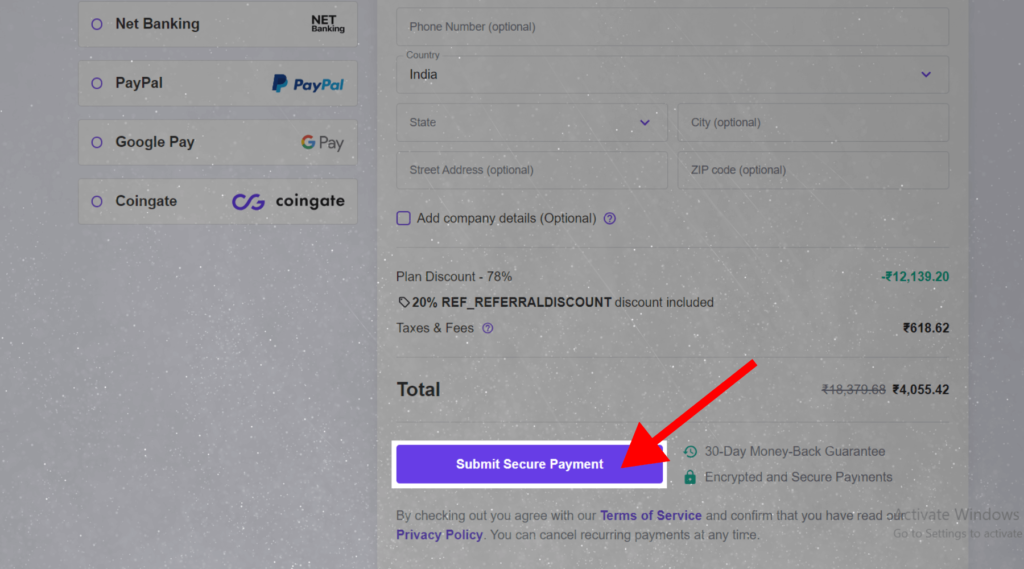
1. Select your payment option.
2. Enter your optional information.
3. If you not using the discount link the amount shows “₹5,069” so using the referral link to access the discount after using this the amount is “₹4,055”
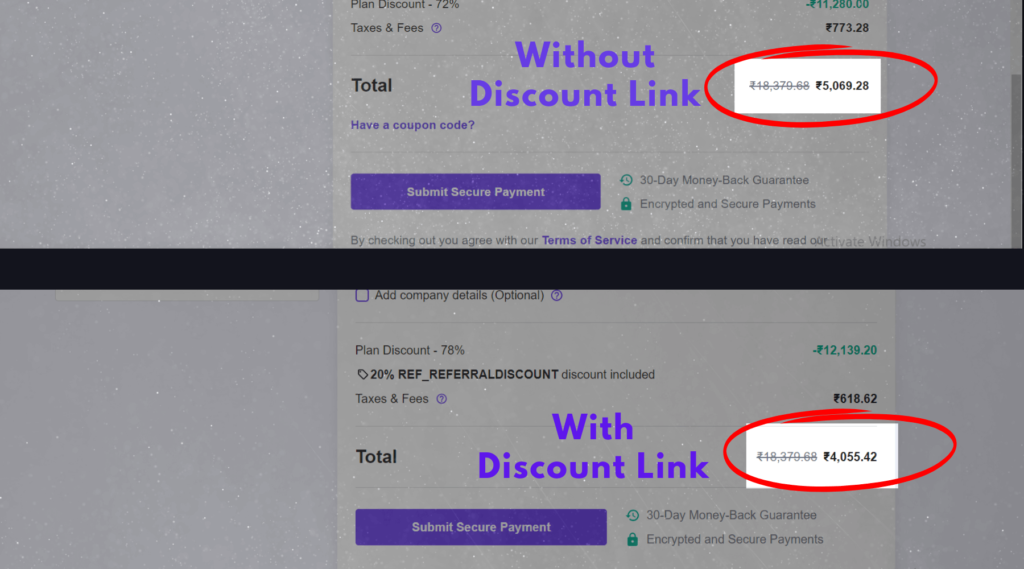
4. Complete the payment process by clinking the “Submit Secure Payment”.
And you want to enter your payment information to finish your payment successfully.
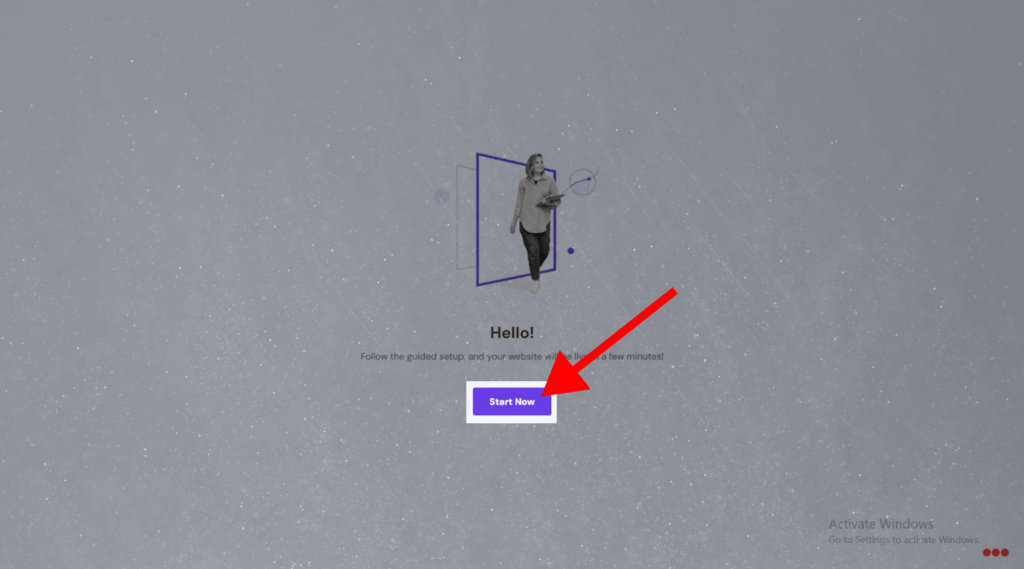
Install WordPress
For installing the WordPress click “Start Now”
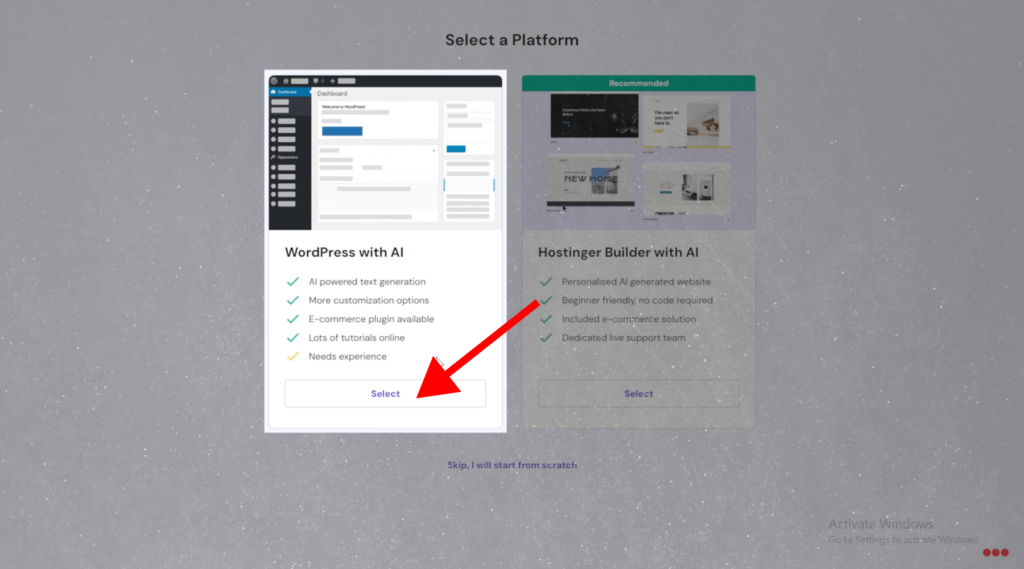
And choose “WordPress With AI” and click “select”
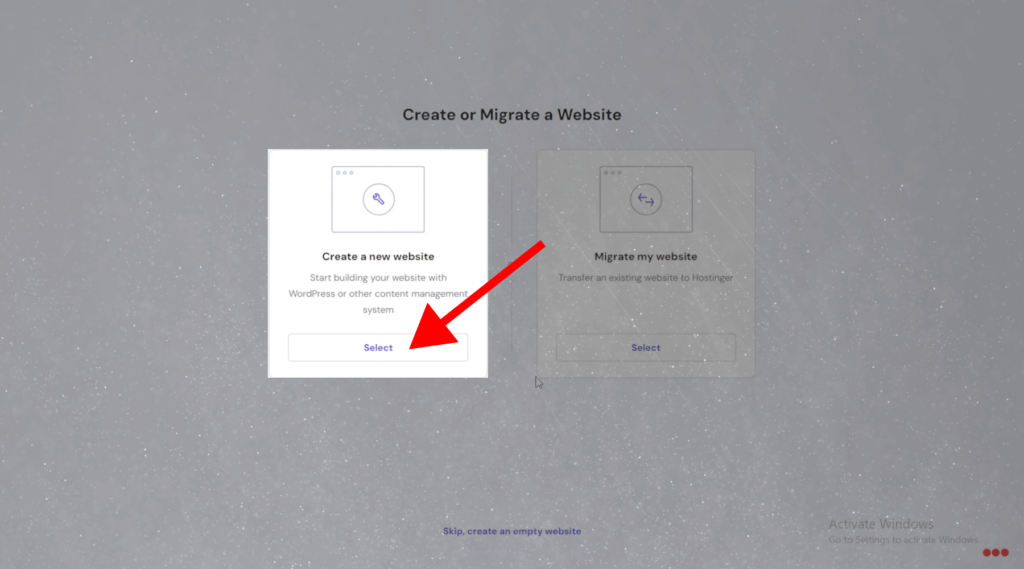
And choose “Create a new website” and click “select”
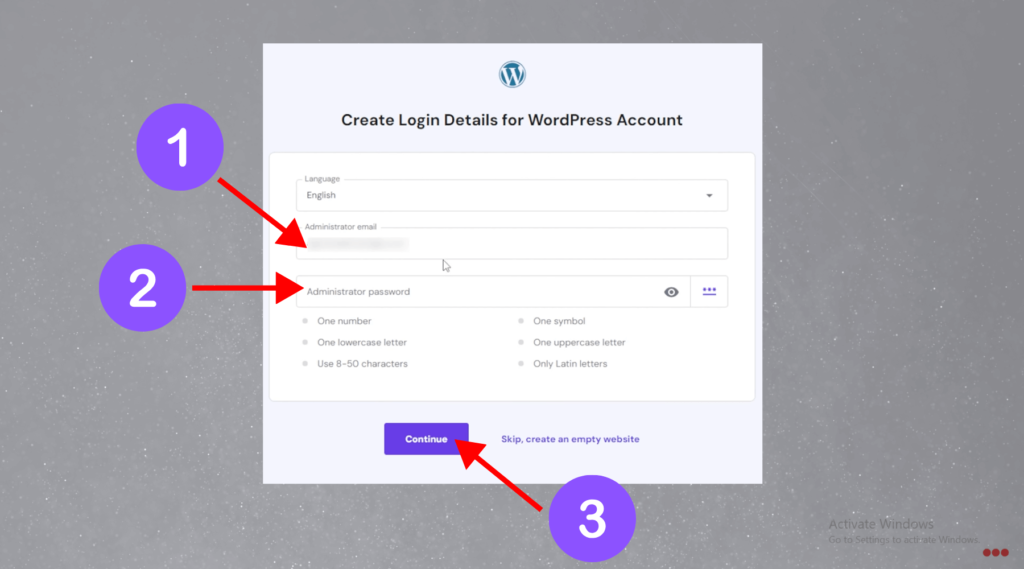
After you want to enter your “WordPress login details” these are important for login your WordPress admin
1.Enter your email
2.Enter your password
3. And click “continue”
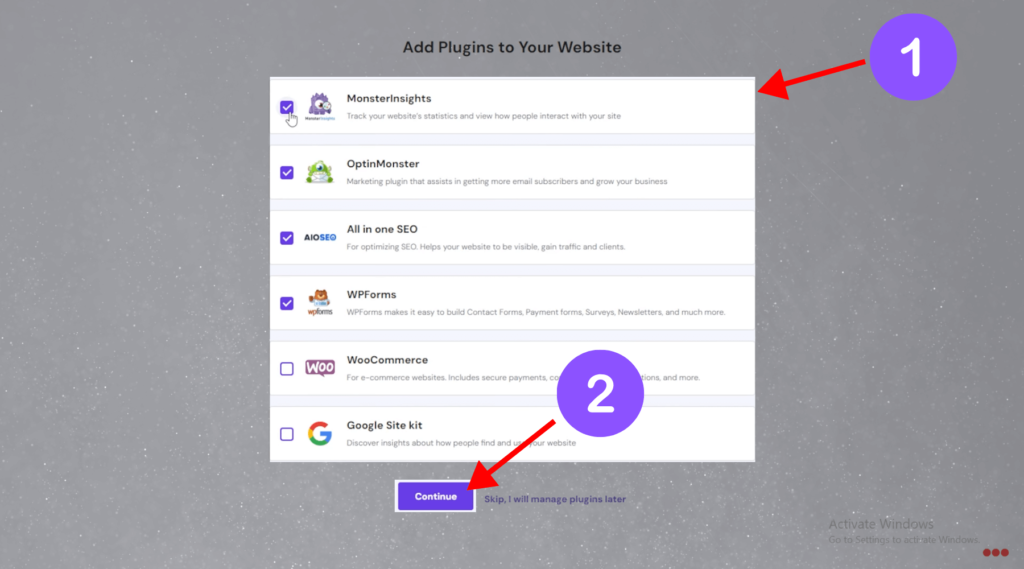
1.After you want to select your plugin which you want
2.And click “continue”
If you don’t know about this plugins just “skip” the process
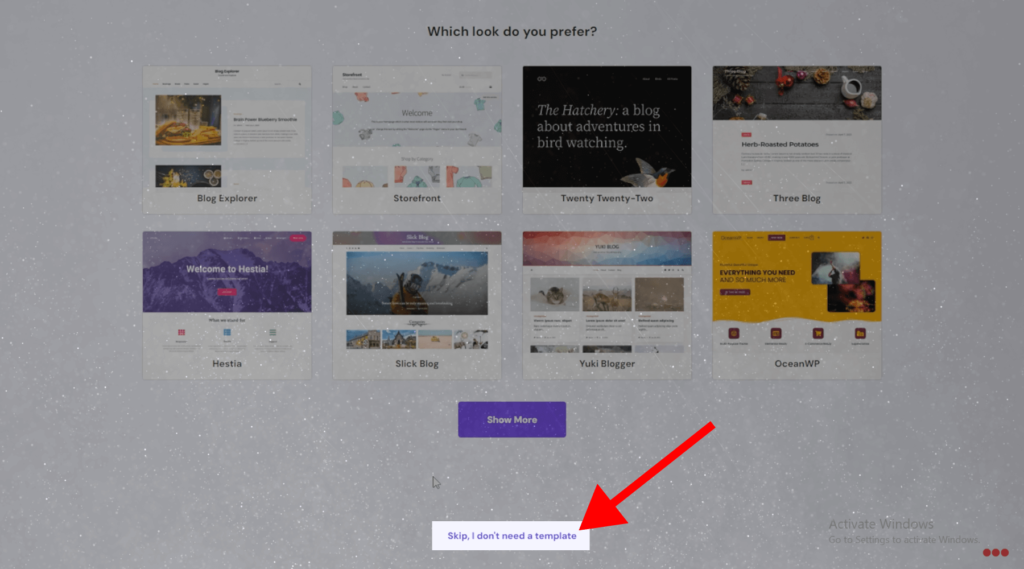
After you want to select your preferable template so in this step we have custom template so just click “skip” to skip the process
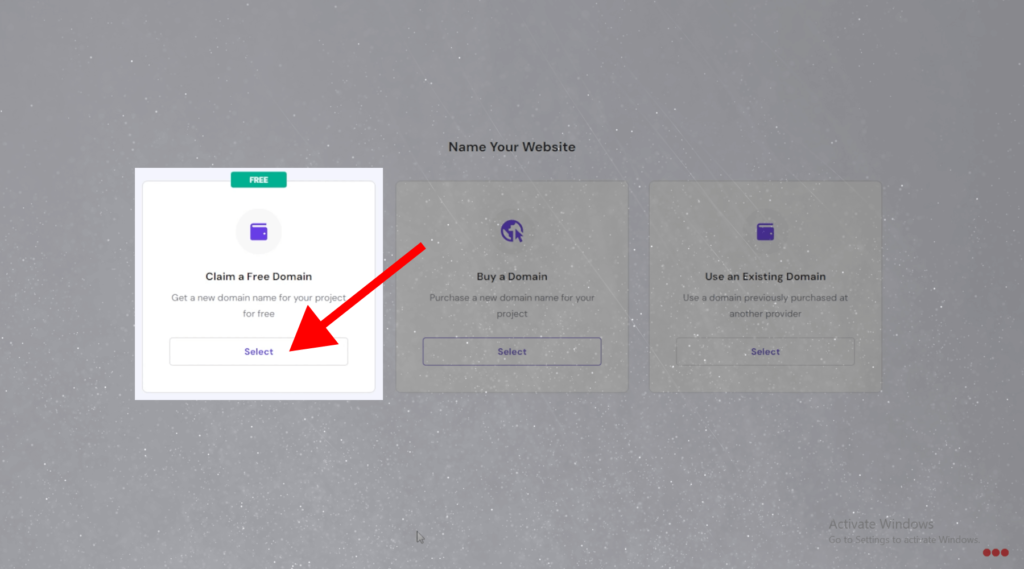
Claim your free domain
In the “claim a free domain” just click “select”
After you want to claim your free domain by searching for an available domain name like yourwebsitename.com or yourwebsitename.in and click “search”.
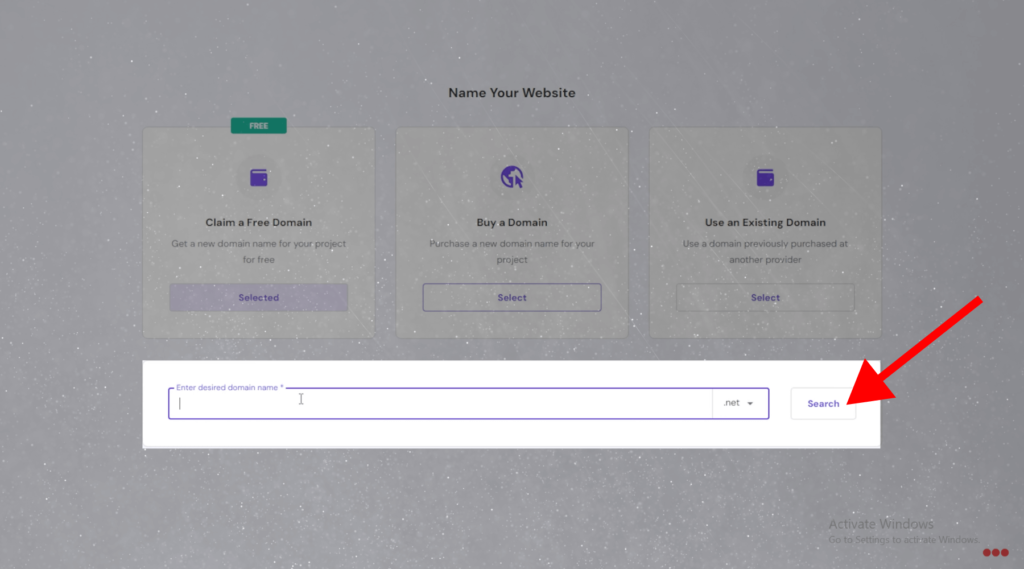
If the domain name is available just click “continue”

Then you want to enter you’re profile details and click “Final Registration”

And check your information and click “Finish Setup”
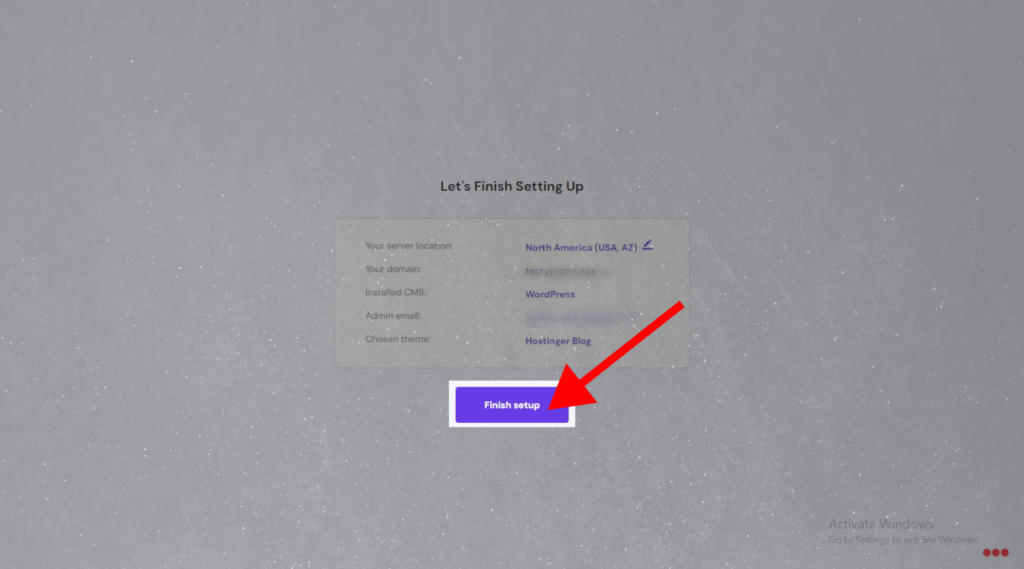
After your free domain successfully claimed !
Login into Wordpress Dashboard
Access WordPress Admin
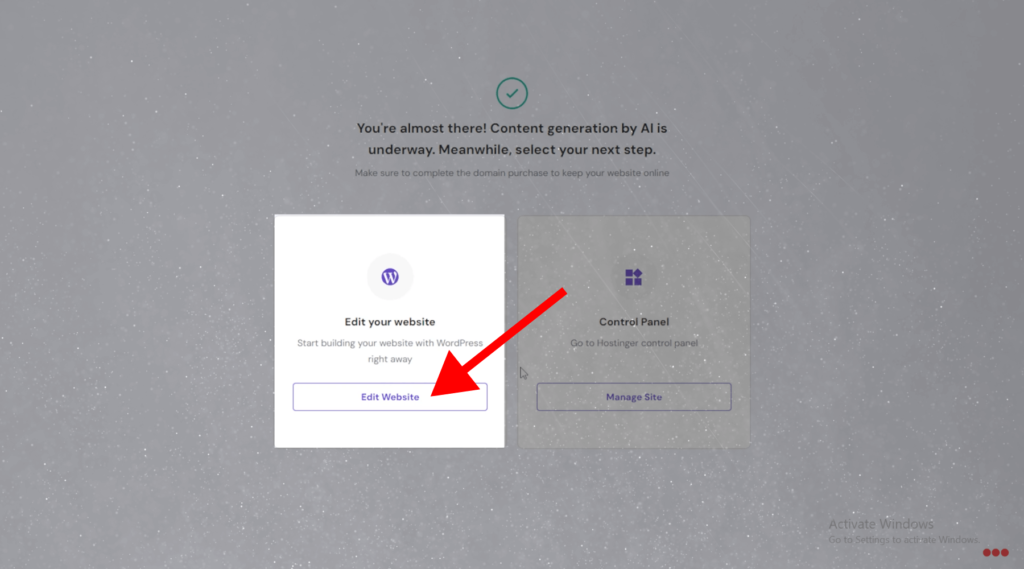
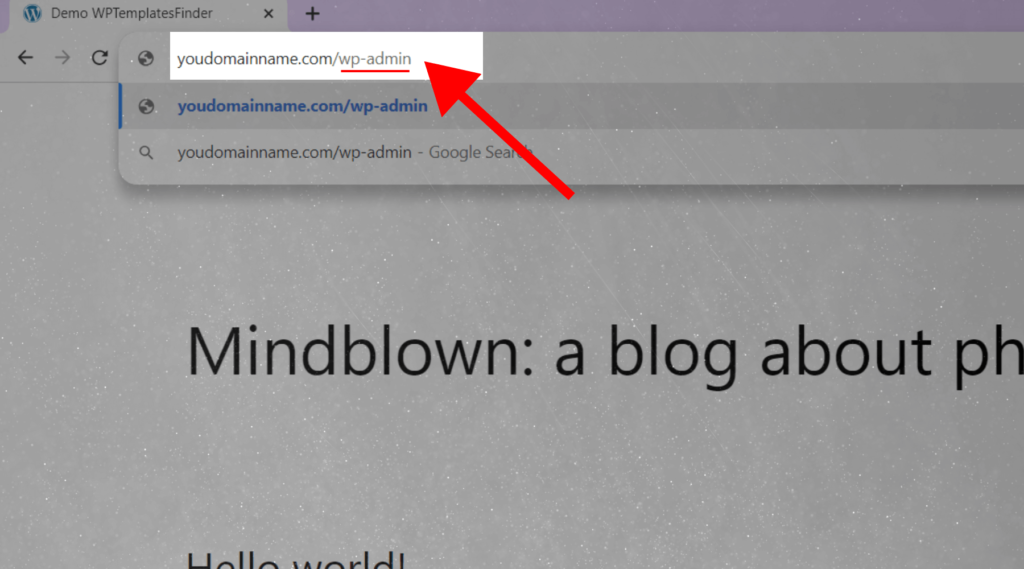
For entering WordPress admin just click “Edit Website” After the URL will redirect to “yourdomainname.com/wp-login” or "yourdomainname.com/wp-admin."
If you not enter the WP admin just enter manually by type your domain name “yourdomainname.com” and add “/wp-admin” like “yourdomainname.com/wp-admin”
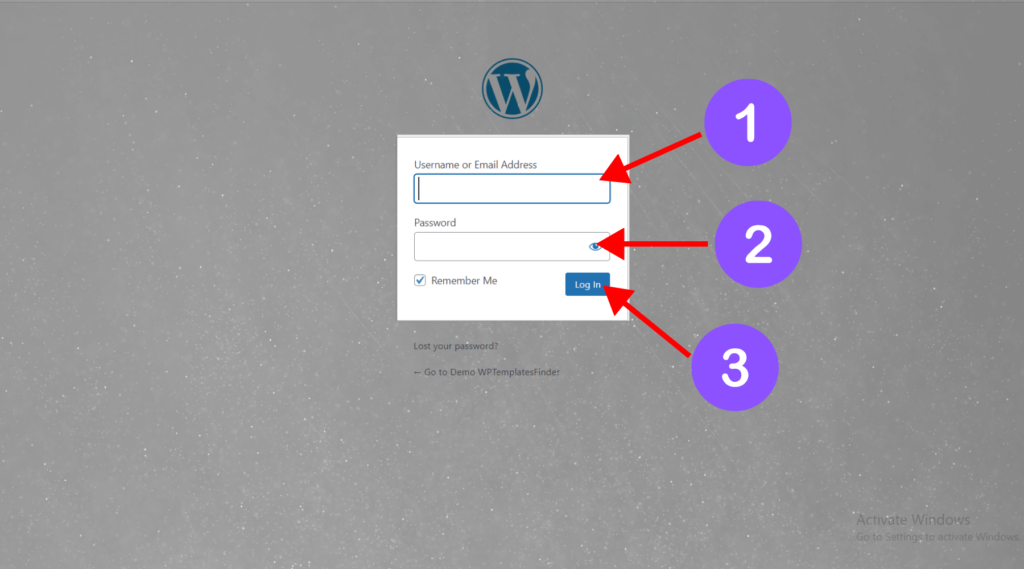
After you enter into the WordPress login and enter you login details just given above
1.Enter your email address or username
2.Enter your password
3.Click “Login In”
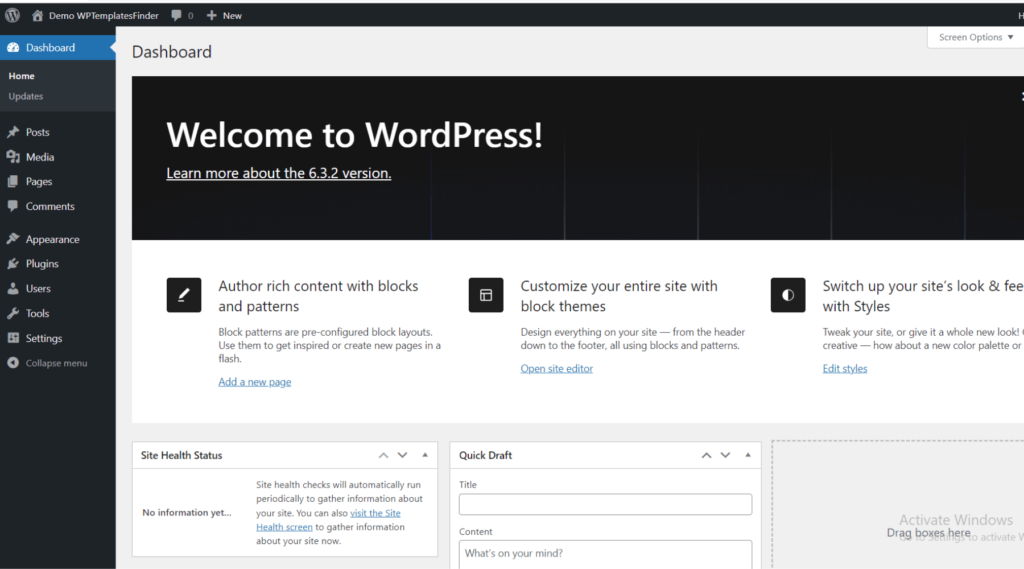
And the WordPress dashboard will open !
Now, feel free to choose any template on wptemplatesfinder and proceed with the next steps in our guide. It’s time to personalize your website!


